Getting Started
Creating a New Custom Question from scratch
-
Go to the "Custom Questions" client app:
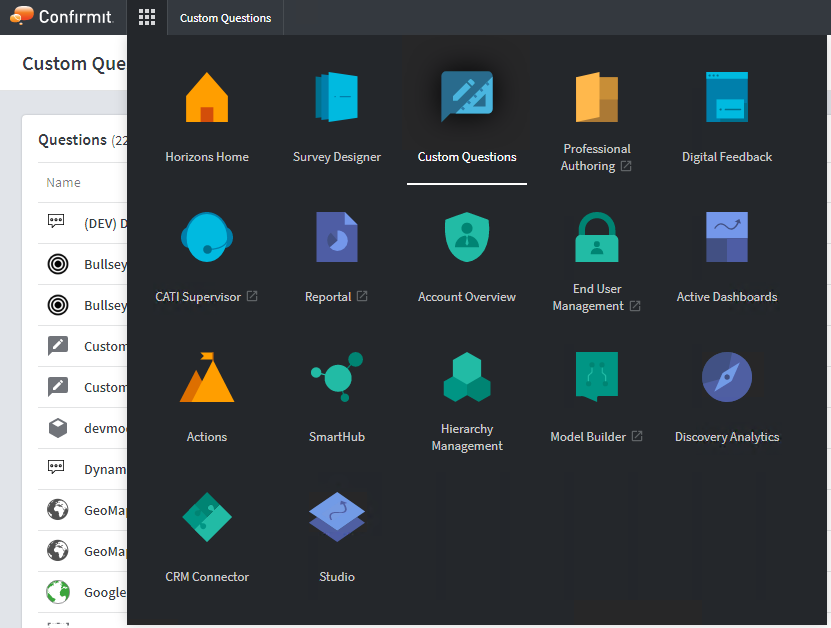 Figure 1. Run the Custom Questions app
 -
Click the New Custom Question button:
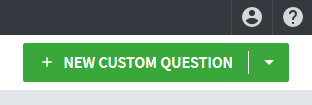 Figure 2. The New Custom Questions button
 -
In the modal dialog specify the name (for example, "My custom single question"), base question type (for example, "Single Choice") and template type (for example, "Nodejs pipeline (Advanced)"). See nodejs pipeline template details here.
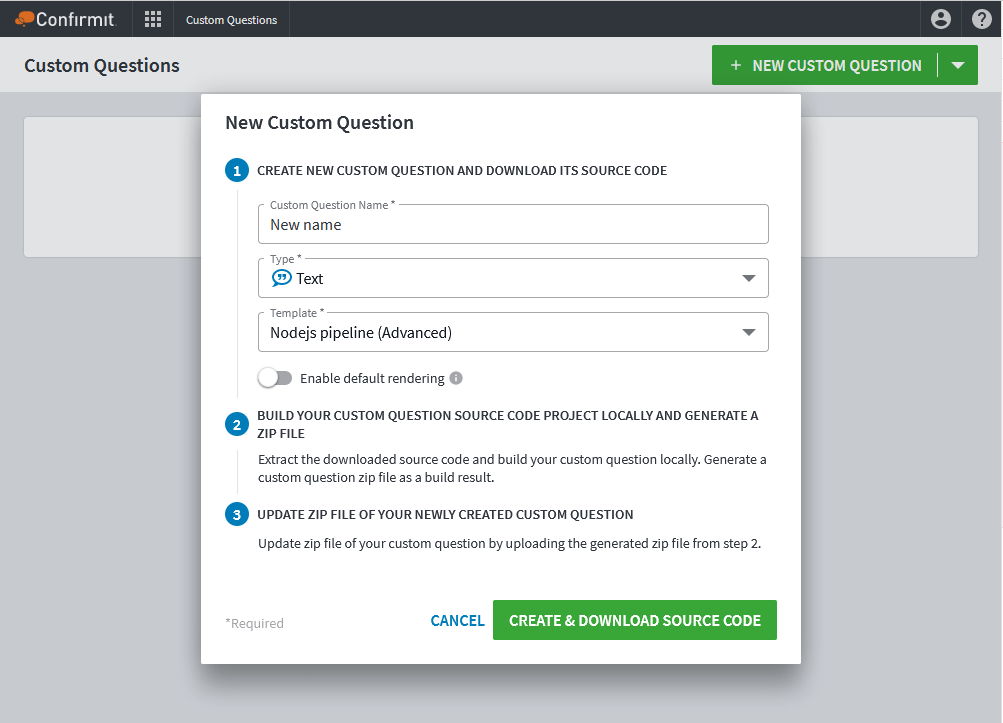 Figure 3. The New Custom Questions overlay
-
Enable default rendering - (off by default) The original question (the one the custom question is based on) will not normally be rendered, so you will need to build the custom question markup and behavior from scratch. Toggle this On to preserve the original html and behavior of a question so you can extend it where needed rather than having to rebuild the entire question.
-
-
Click Create & Download Source Code and wait until the task is finished. On completion a "successful operation" banner is displayed and a zip file in the format cq_\{uniqiue id\}_src.zip is downloaded. The zip file contains the source code for your custom question.
 Figure 4. The zip file in the lower-left corner
 -
Click View custom question. You are redirected to the new custom question’s Overview page.
Custom question in Survey Designer and surveys
-
Go to Survey Designer (if Survey Designer is already opened, then reload the page in the browser).
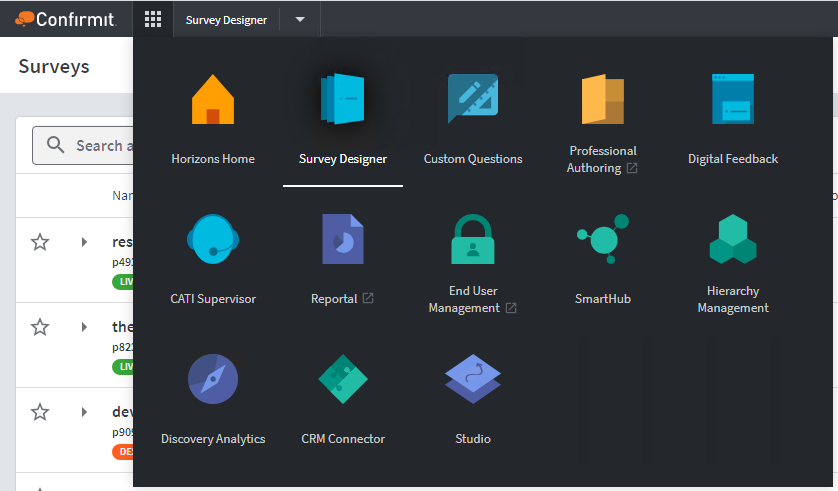 Figure 5. Run Survey Designer
 -
Create a new test survey with a responsive layout (for example "Public Responsive Whitespace Layout"), or use an existing survey. Your Custom question is listed at the bottom of the "Add question" overlay.
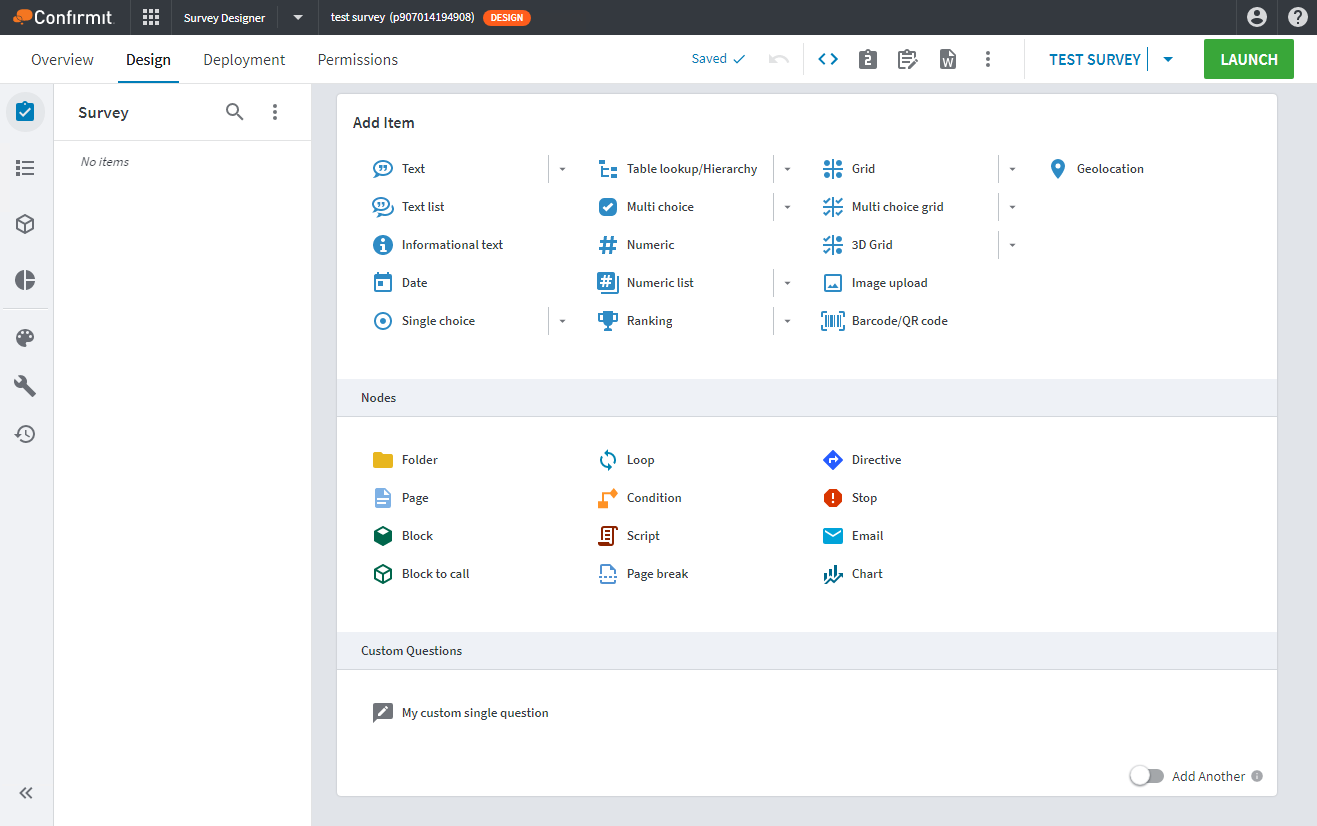 Figure 6. The new custom question in the Add question overlay
 -
Choose My custom single question.
You now have a survey containing a single custom question. Click on the question to open its Settings page (Question details → Custom settings tab), and click the Preview button to see the custom question as it will be in the survey.
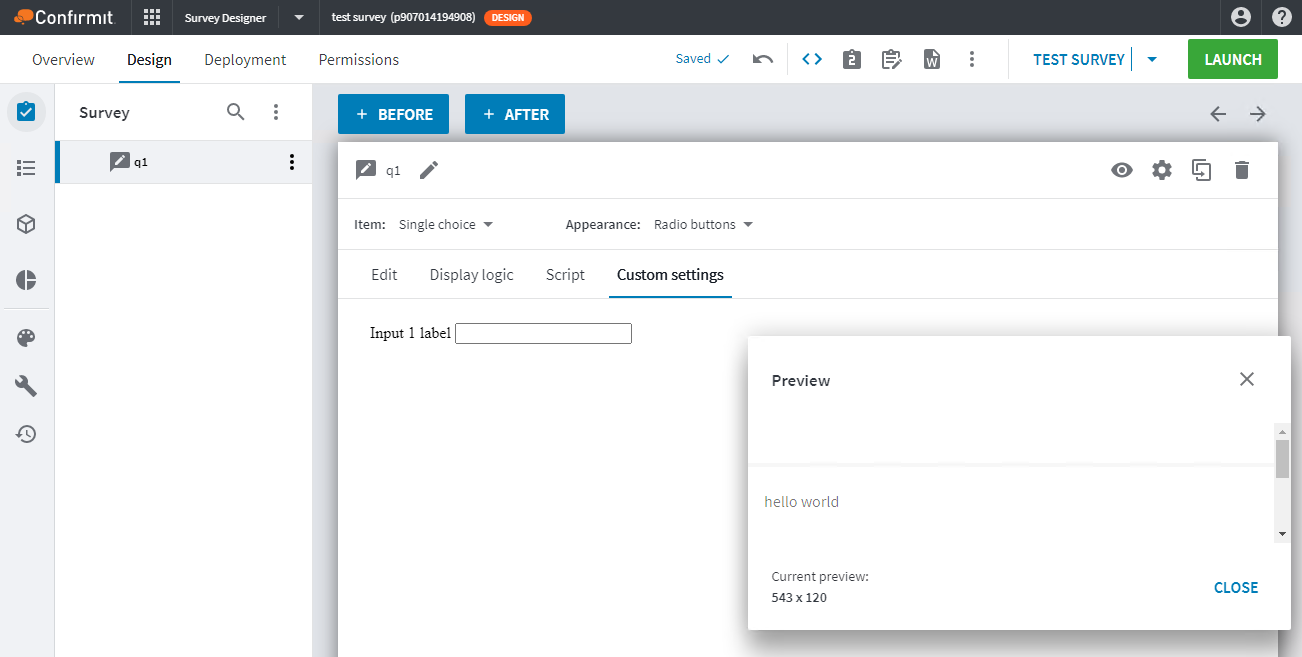 Figure 7. The Settings page and the preview
When you launch the survey the question will be displayed as in the preview.
Development
-
Create a new folder "My custom question", and extract the downloaded zip file to that folder. The default file structure for "nodejs pipeline" template is as follows:
 Figure 8. The default file structure
metadata.json contains the custom question configuration (see Getting Started), the design folder contains the settings page (see Settings Page), and the runtime folder contains the runtime component (see Runtime Component).
-
Open the terminal app and go to the folder containing the custom question files.
-
Run npm install to install the nodejs dependencies for your project to the node_modules folder. This must be done only once.
-
To run a local webserver for development, run npm start and wait until the "Server running" message appears. The Default server is available on the https://localhost:1234 address:
 Figure 9. The default server
 -
To enable the custom question DevMode (see Dev Mode), go to the Overview page and enter your running webserver address (in this case https://localhost:1234) to the "DevServer URL Override", then click Enable Dev Mode.
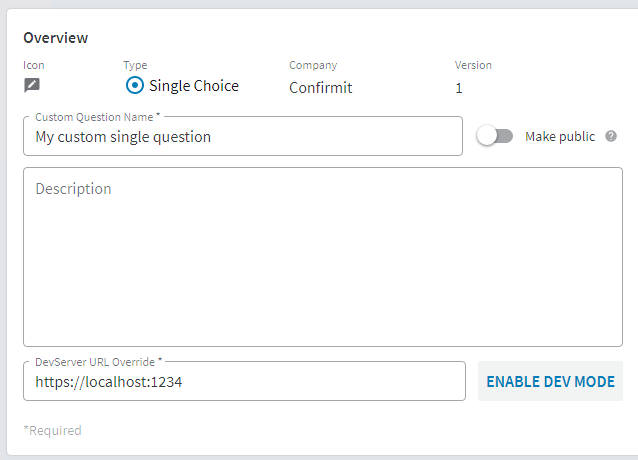 Figure 10. Add the URL and click Enable Dev Mode
When DevMode is enabled, your custom question resources will be hosted from your local machine instead of the Confirmit servers. This is to simplify development.
-
Open the survey in which you have created your custom question in Survey Designer, and go to the "Custom settings" tab. If you have not yet accepted the HTTPS certificate, an empty iframe is loaded because a self-signed certificate is not valid for the browser.
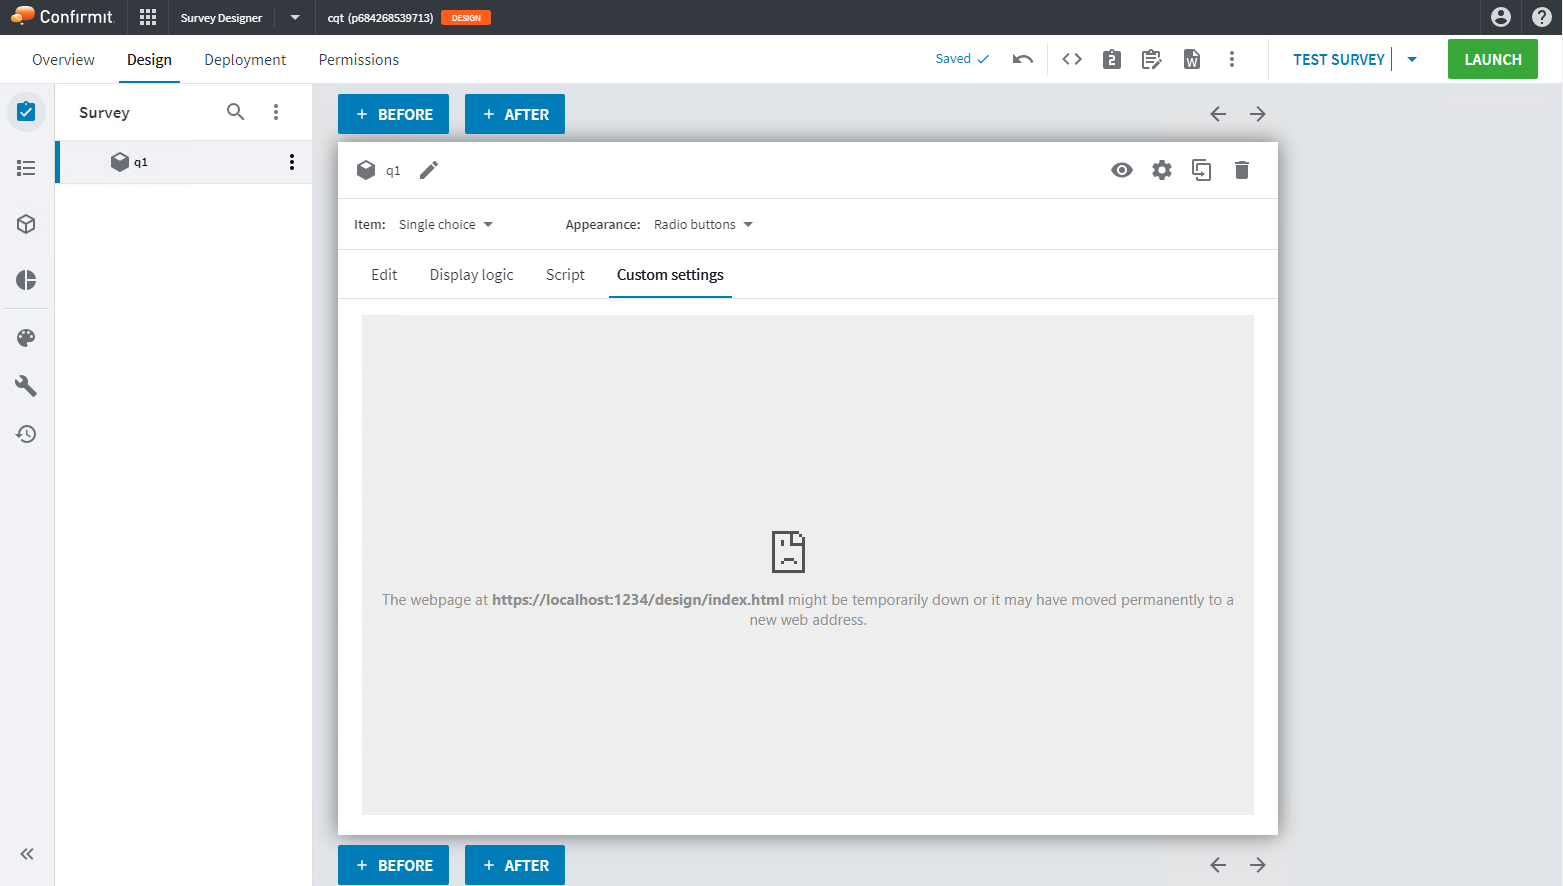 Figure 11. The Custom Settings tab with the empty iframe
You must therefore allow the browser to accept it.
-
Open the link to any valid resource from your local webserver in a separate browser tab (for example, https://localhost:1234/design/index.html). For Chrome-based browsers you will see a "Your connection is not private" warning. Click the Advanced button, then click Proceed to localhost (unsafe) to allow the the browser to use the developer certificate.
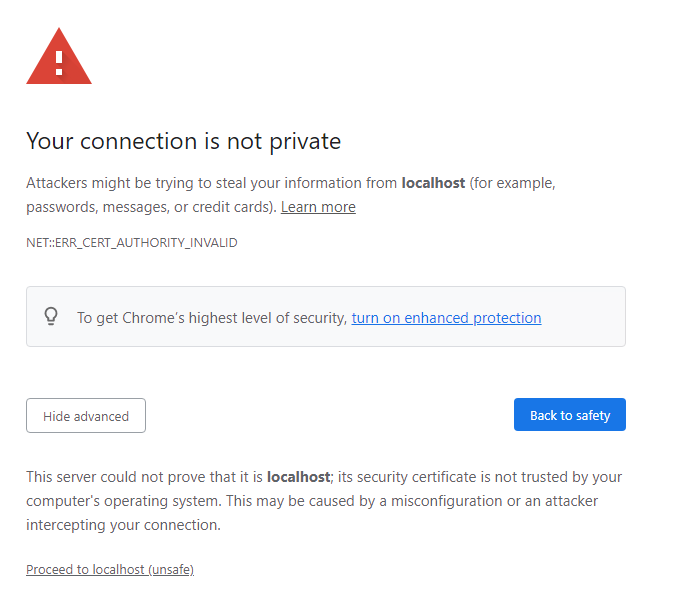 Figure 12. The Chrome warning message
Accept it once per browser, or allow the specific certificate globally. After certificate access has changed, reload the Survey Designer window. See Dev Mode Certificates for details.
We will now make some changes in a settings page.
-
Open design/index.html in your favorite code editor and make some changes (in this example, add "<h1>Hello from DevMode</h1>" before the "Input 1 label" label element). When you save the file the changes will immediately be visible in the Survey Designer’s "Custom settings" tab.
 Figure 13. Example of changes
Click here to see how to develop the CQ settings page.
A similar process is required for the runtime in-survey component.
-
Run Preview in Survey Designer; the page will show the "hello world" caption for the custom question.
-
Open runtime/component.js in your editor and change "hello world" to "hello devmode".
-
Once you have saved the file, re-open Preview (or re-run QuickTest) to see the changes.
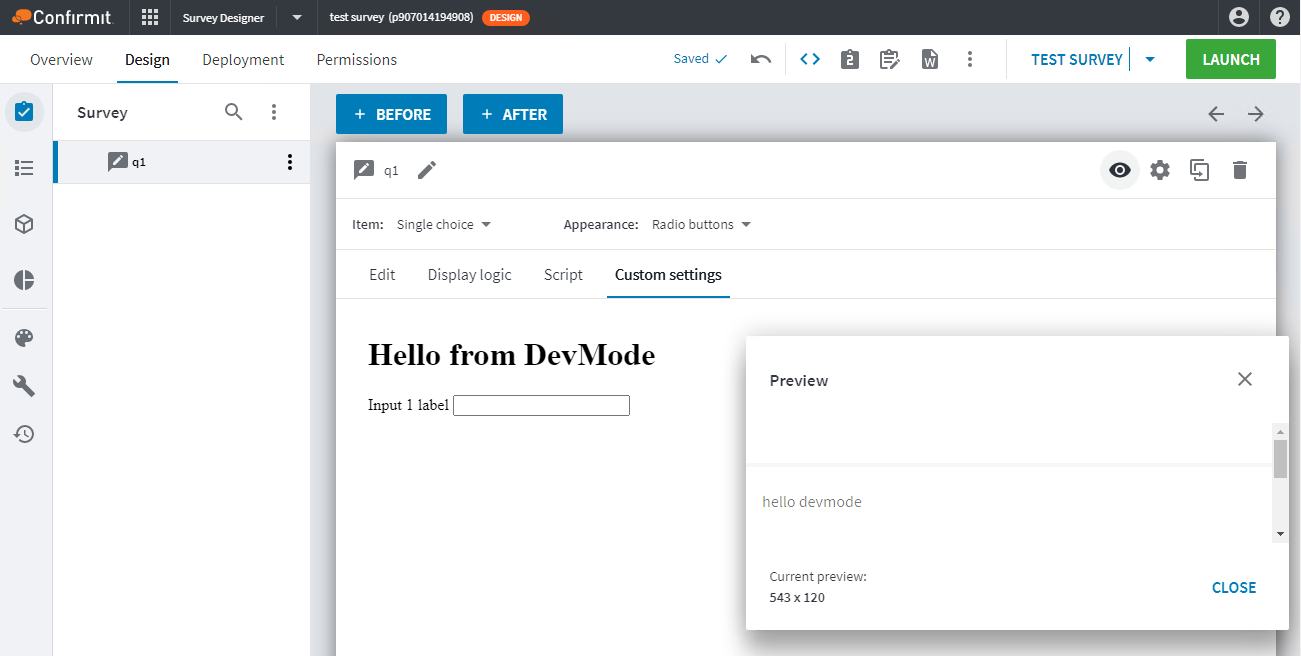 Figure 14. Previewing the changes
Click here to see how to develop CQ runtime components.
Deploy
When your custom question is ready to be released, disable DevMode (go to the Overview page and click Disable Dev Mode), stop the local webserver and reload the Survey Designer window.
To build the custom question bundle, run npm run build. This will generate the bundle as a zip file located in /dist-bundle/bundle.zip.
Upload the created zip file from the Overview page by clicking Update zip file.